How to Generate AI Blog Posts for Shopify: Complete Guide
A complete step-by-step guide to generating AI-powered, SEO-optimized blog posts for your Shopify store using GoodySell AI SEO Blog app.
Creating high-quality, SEO-optimized blog content for your Shopify store can be incredibly time-consuming. Between keyword research, writing engaging articles, and designing eye-catching featured images, a single blog post can take hours to produce.
GoodySell AI SEO Blog changes everything. This powerful Shopify app uses artificial intelligence to generate complete, SEO-optimized blog posts with custom featured images — all in under ~2-3 minutes. In this guide, we'll walk you through every step of creating your first AI-generated blog post.
What Is AI SEO Blog and Why Does It Matter?
AI SEO Blog is a Shopify application that leverages advanced AI technology to:
Generate keyword-optimized content that ranks well in search engines
Create custom featured images that match your article's theme
Support 15 languages for international stores
Save hours of work on each blog post
Why Blogging Matters for E-commerce
SEO Benefits: Blog posts help your store rank for more keywords, driving organic traffic
Customer Education: Articles help customers make informed purchasing decisions
Brand Authority: Regular, quality content establishes you as an expert in your niche
The Problem: Creating quality blog content is time-consuming. A typical 1,500-word article with research, writing, editing, and image creation can take 4-6 hours.
The Solution: AI SEO Blog reduces this to under 2 minutes while maintaining quality and SEO optimization.
Step 1: Install the App and Choose Your Plan
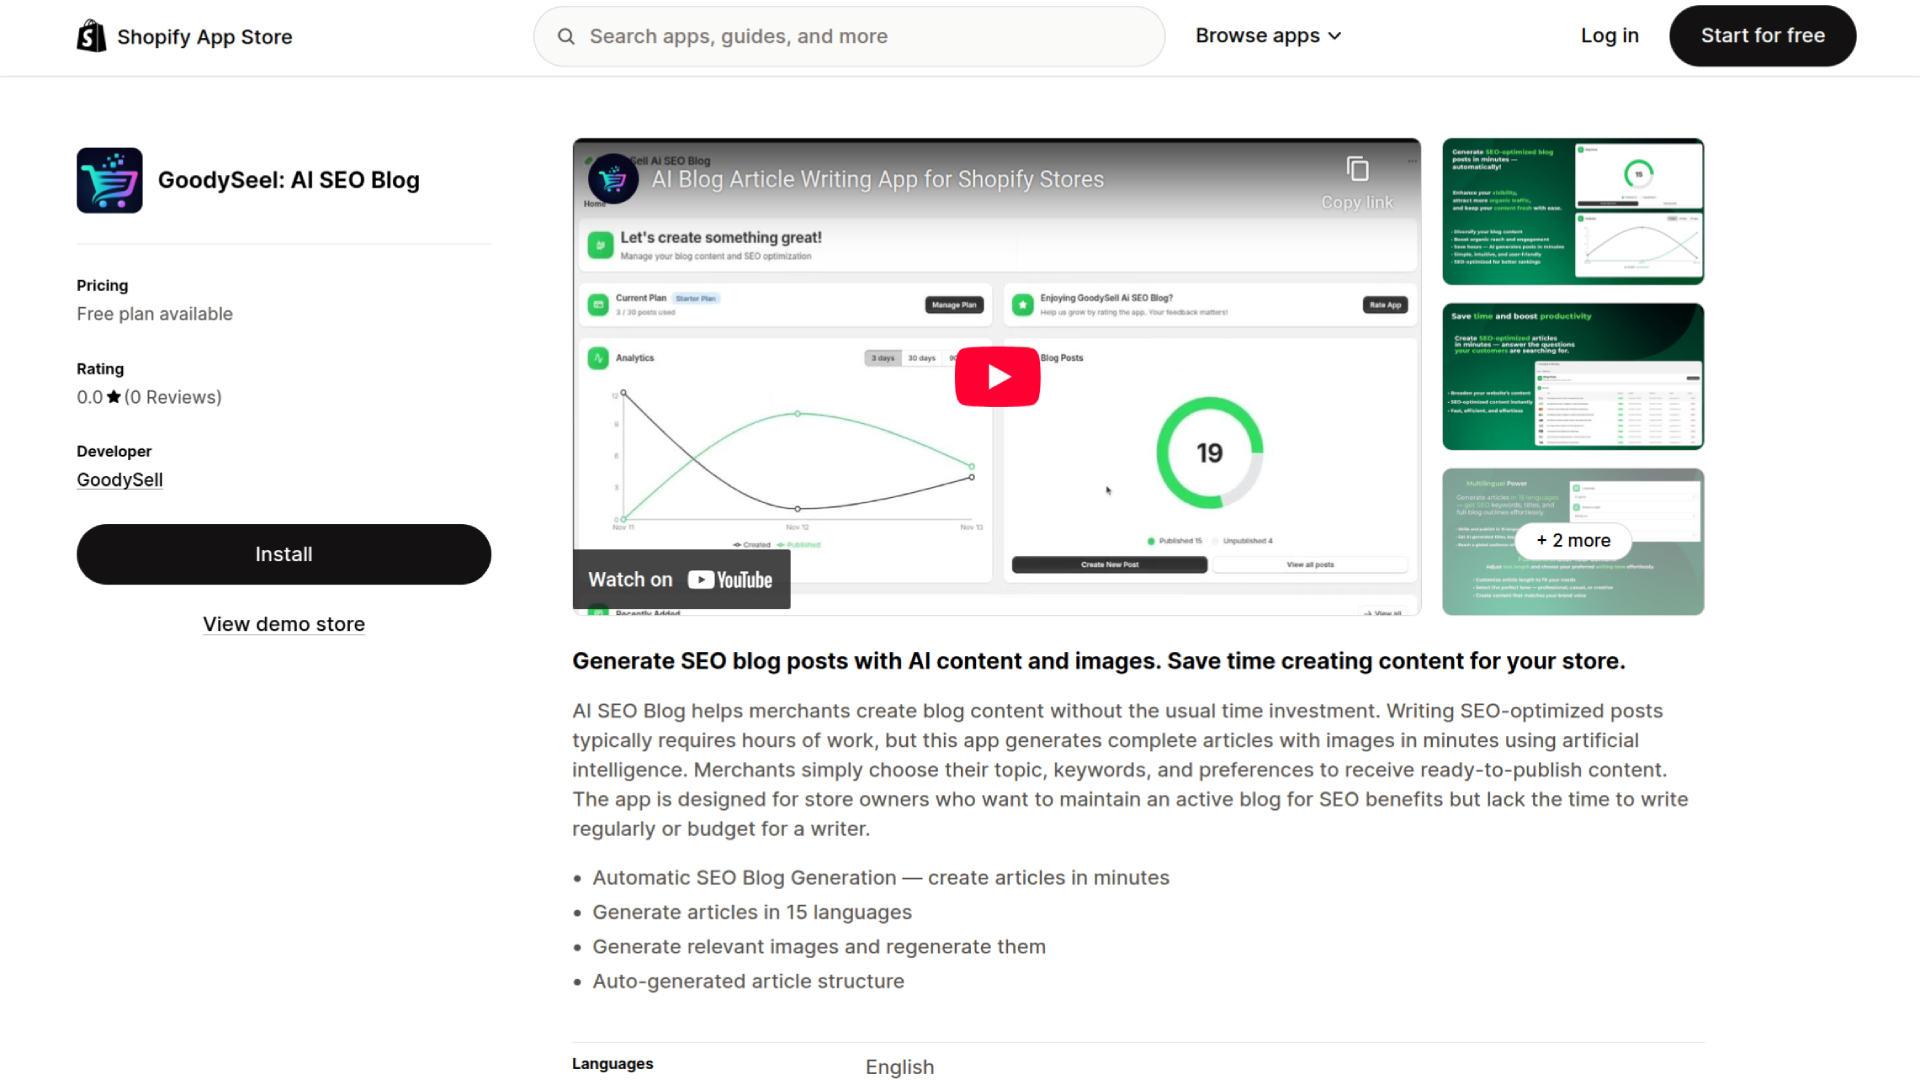
First, install GoodySell AI SEO Blog from the Shopify App Store.
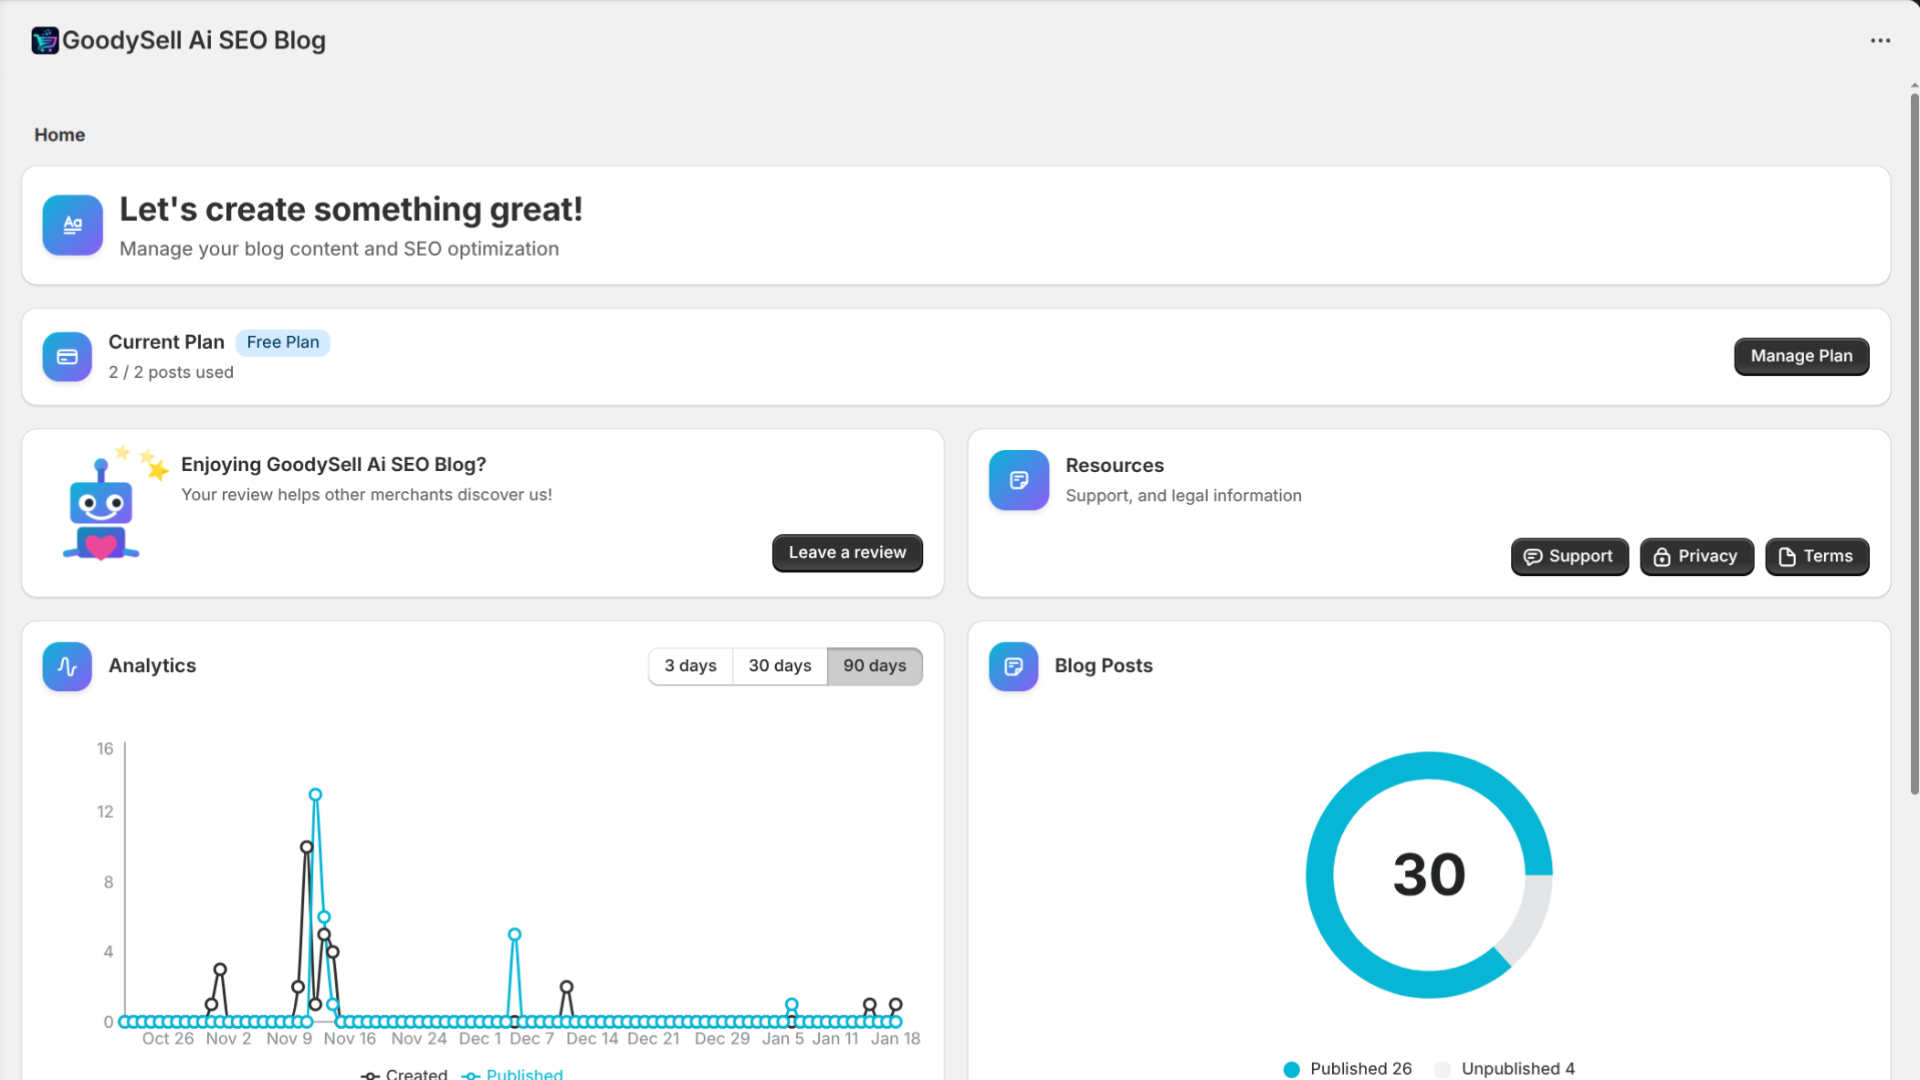
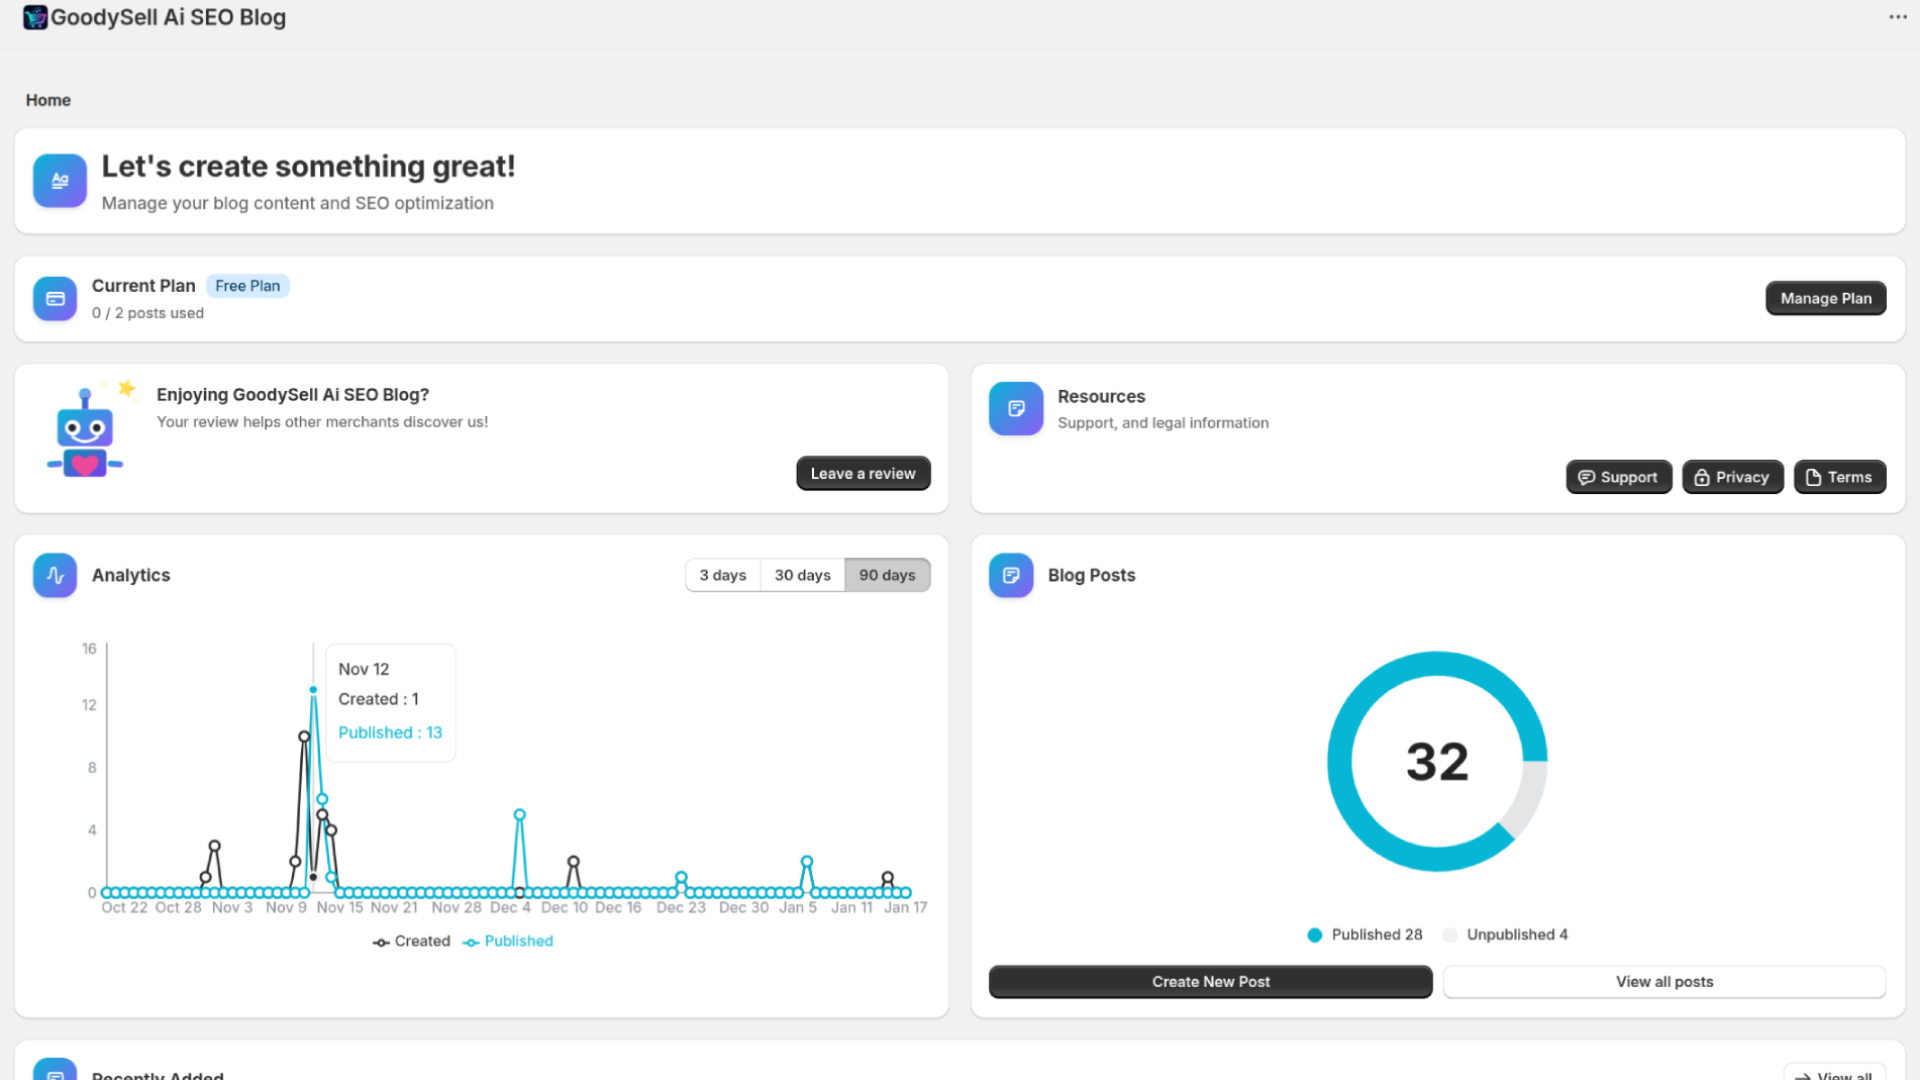
After installation, you'll be taken to the app's home screen. Here you can see your current plan and usage.
Available Plans
Plan | Articles/Month | Monthly Price | Best For |
|---|---|---|---|
Free | 2 | $0 | Testing the app |
Starter | 30 | $0.99 | Small stores |
Essential | 60 | $19.99 | Growing stores |
Professional | 100 | $29.99 | High-volume content |
Pro Tip: Start with the Free plan to test the app, then upgrade when you're ready to create more content.
Step 2: Start Creating Your First Article
On the home page, find the "Blog Posts" card. Click the "Create New Post" button.
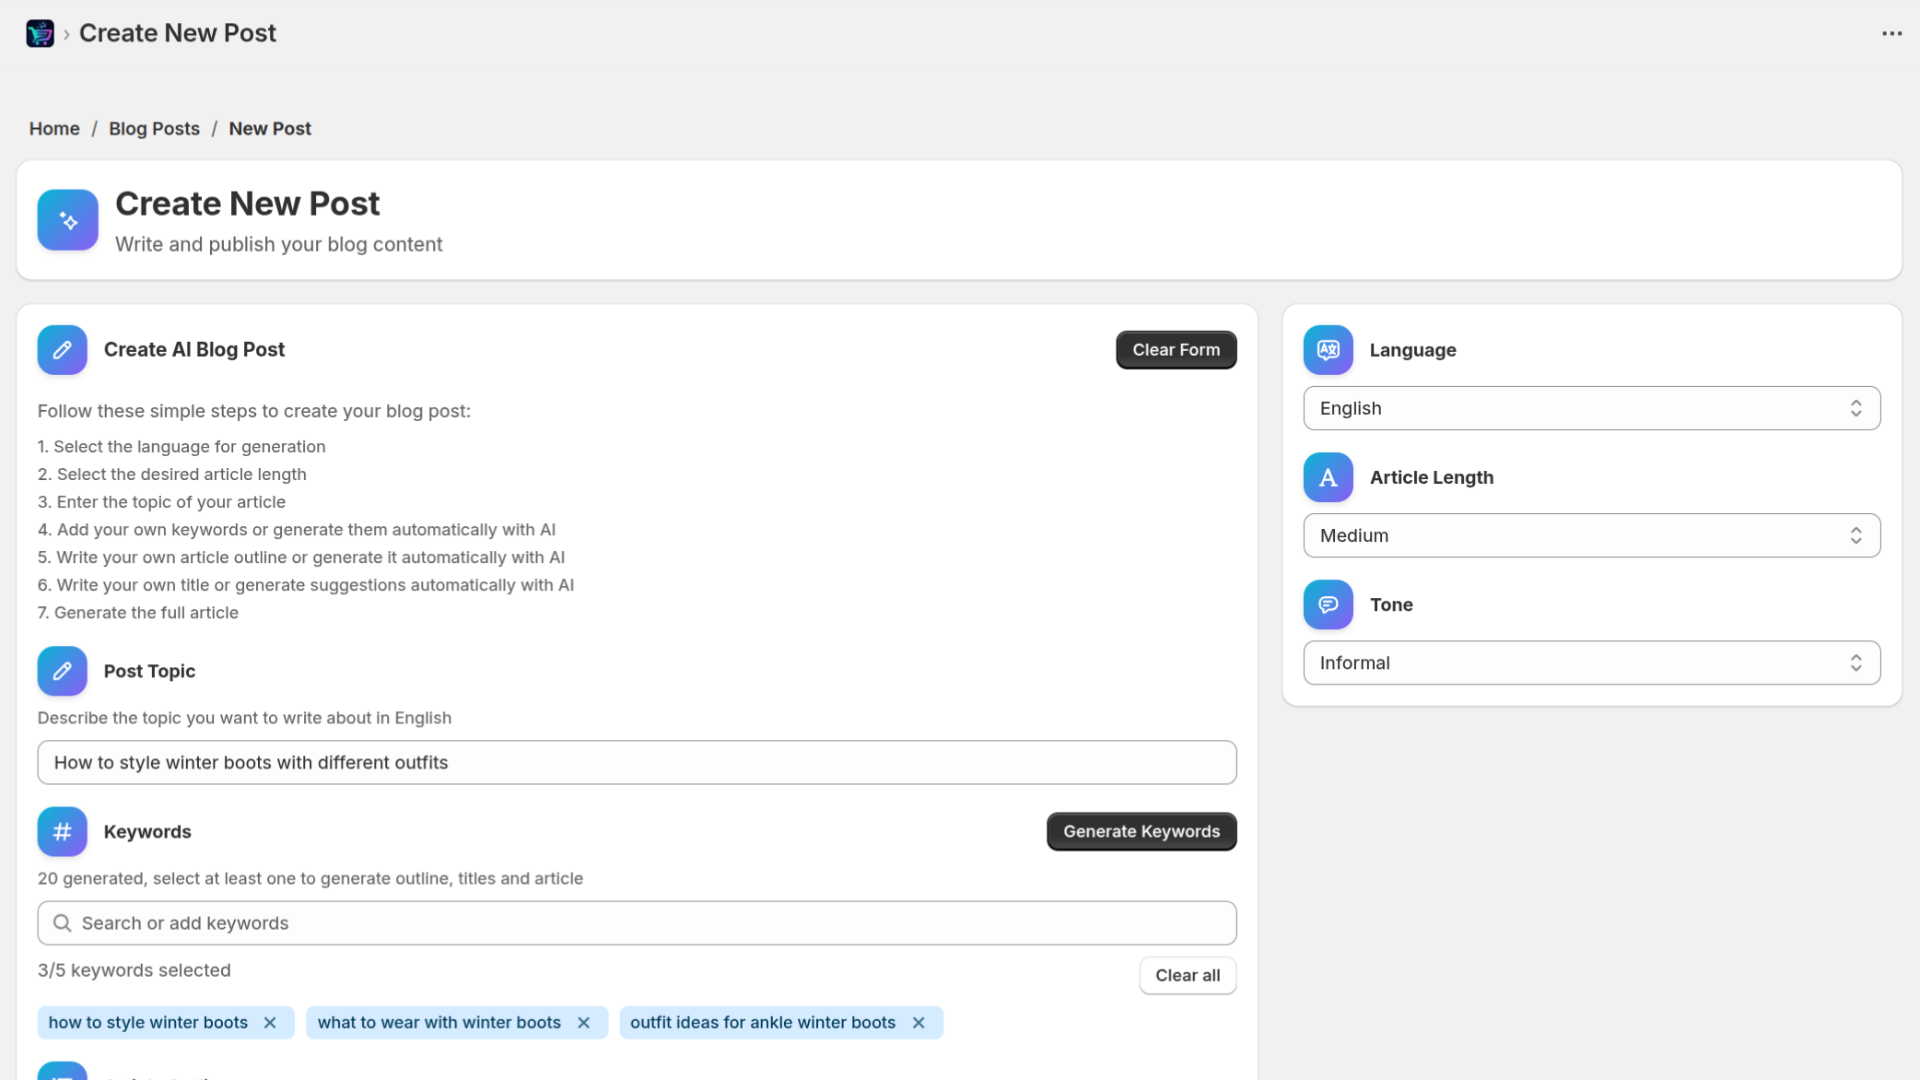
You'll be taken to the article creation page. This is where the magic happens!
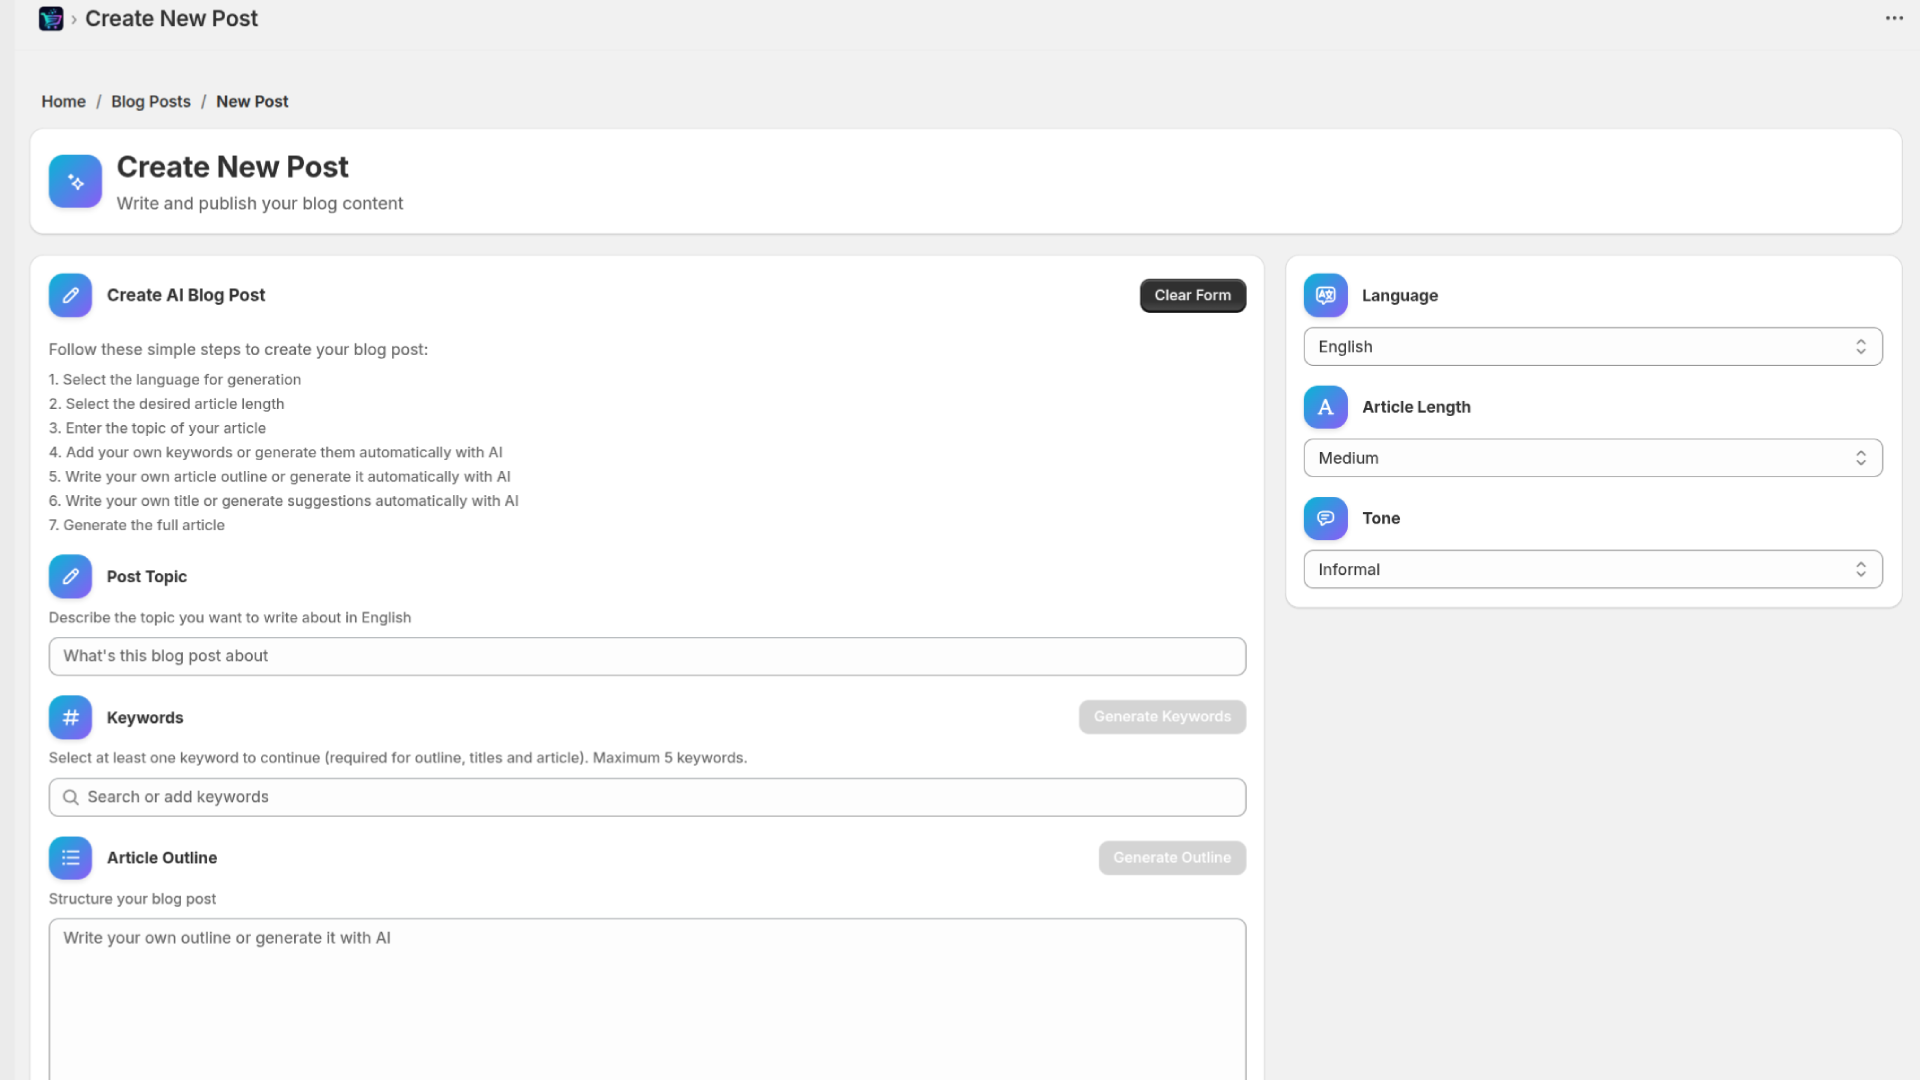
Step 3: Enter Your Article Topic
In the "Post Topic" field, enter what you want to write about. Be specific — the more detailed your topic, the better the results.
Good examples:
"How to style winter boots with different outfits"
"10 benefits of organic skincare products for sensitive skin"
"Complete guide to choosing the right yoga mat for beginners"
Avoid vague topics like:
"Boots" (too general)
"Skincare" (needs more focus)
"Yoga" (not specific enough)
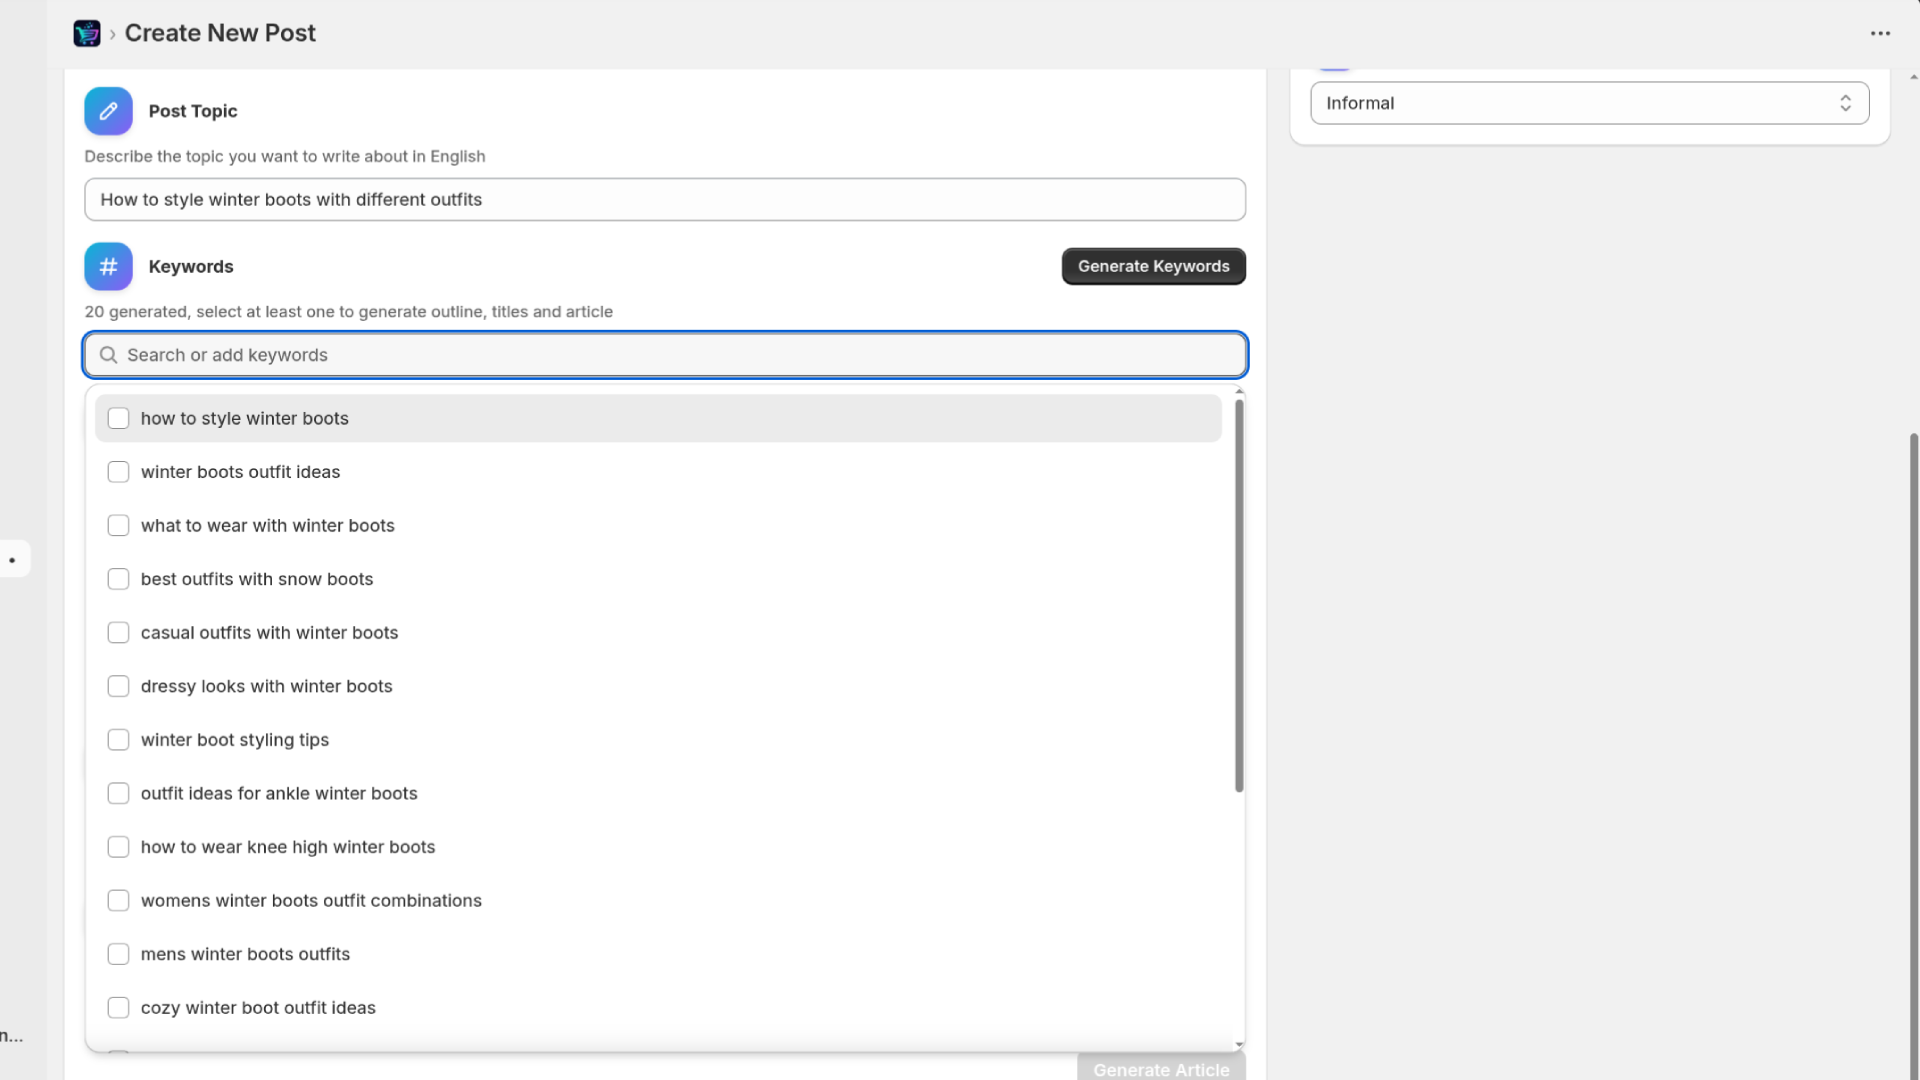
Step 4: Generate Keywords
Click the "Generate Keywords" button. The AI will analyze your topic and suggest relevant SEO keywords.
After about ~10-15 seconds, you'll see a list of suggested keywords. Select the ones most relevant to your article (up to 5).
Tips for selecting keywords:
Choose keywords that match your target audience's search intent
Mix broad and specific keywords
Select at least 3-5 keywords for best results
Pro Tip: You can also add your own custom keywords by typing them in the input field and pressing Enter.
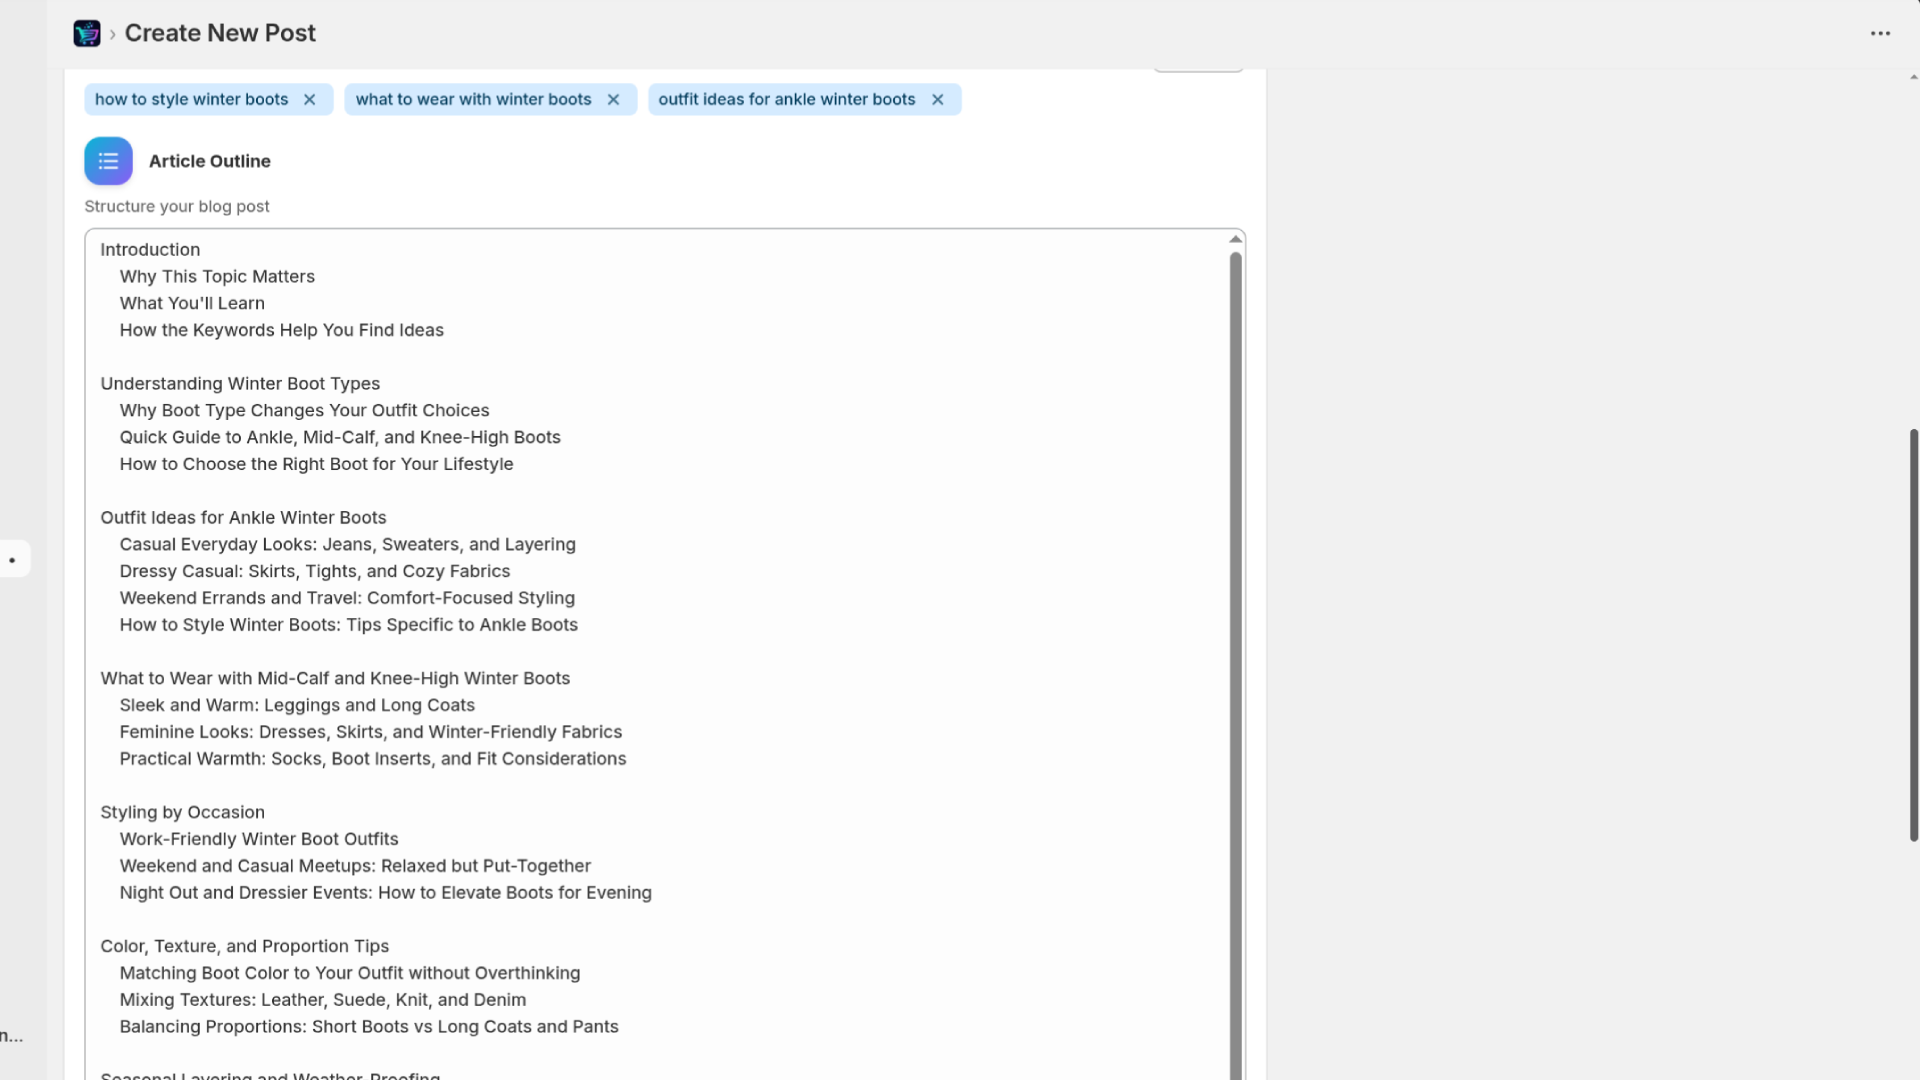
Step 5: Generate Article Outline
Once you've selected your keywords, click "Generate Outline".
The AI will create a structured outline for your article. This typically takes about ~10-15 seconds.
You can:
Use the outline as-is
Edit sections to better fit your needs
Add or remove points
Completely rewrite if you prefer
The outline determines the structure of your final article, so take a moment to review it.
Step 6: Generate Title Options
Click "Generate Titles" to get 10 AI-suggested titles for your article.
After about ~10-15 seconds, you'll see 10 title options displayed as clickable buttons.

Click on the title you like best, or type your own custom title in the text field.
What makes a good title:
Includes primary keyword
Creates curiosity or promises value
Is between 50-60 characters for SEO
Clearly communicates the article's benefit
Step 7: Describe Your Featured Image
In the "Image Description" field, describe what you want your featured image to look like.
Example descriptions:
"A cozy winter scene with stylish boots on wooden floor, warm lighting"
"Modern minimalist skincare products arranged on marble surface with plants"
"Person doing yoga on a colorful mat in a bright, peaceful studio"
Important: The more detailed your description, the better your image will match your vision. Include colors, mood, setting, and style preferences.
Step 8: Configure Article Settings
In the right sidebar, you'll find three important settings:
Language
Choose from 15 languages:
English, Spanish, French, German
Polish, Italian, Portuguese, Dutch
Chinese, Japanese, Korean
Swedish, Danish, Finnish, Norwegian
Article Length
Short: Quick reads, around 1000-1300 words
Medium: Standard articles, around 1,300-1,600 words (recommended)
Long: In-depth guides, around 1,600-2,000+ words
Writing Tone
Choose the voice that matches your brand:
Casual - Relaxed and friendly
Conversational - Like talking to a friend
Formal - Professional and polished
Friendly - Warm and approachable
Humorous - Light and entertaining
Informal - Easy-going
Informative - Educational and fact-based
Persuasive - Compelling and action-oriented
Professional - Business-appropriate
Step 9: Generate Your Article
Once everything is configured, click the "Generate Article" button.
This is the final step! The AI will now:
Write your complete article based on the outline
Optimize it for your selected keywords
Generate a custom featured image
Publish it directly to your Shopify blog
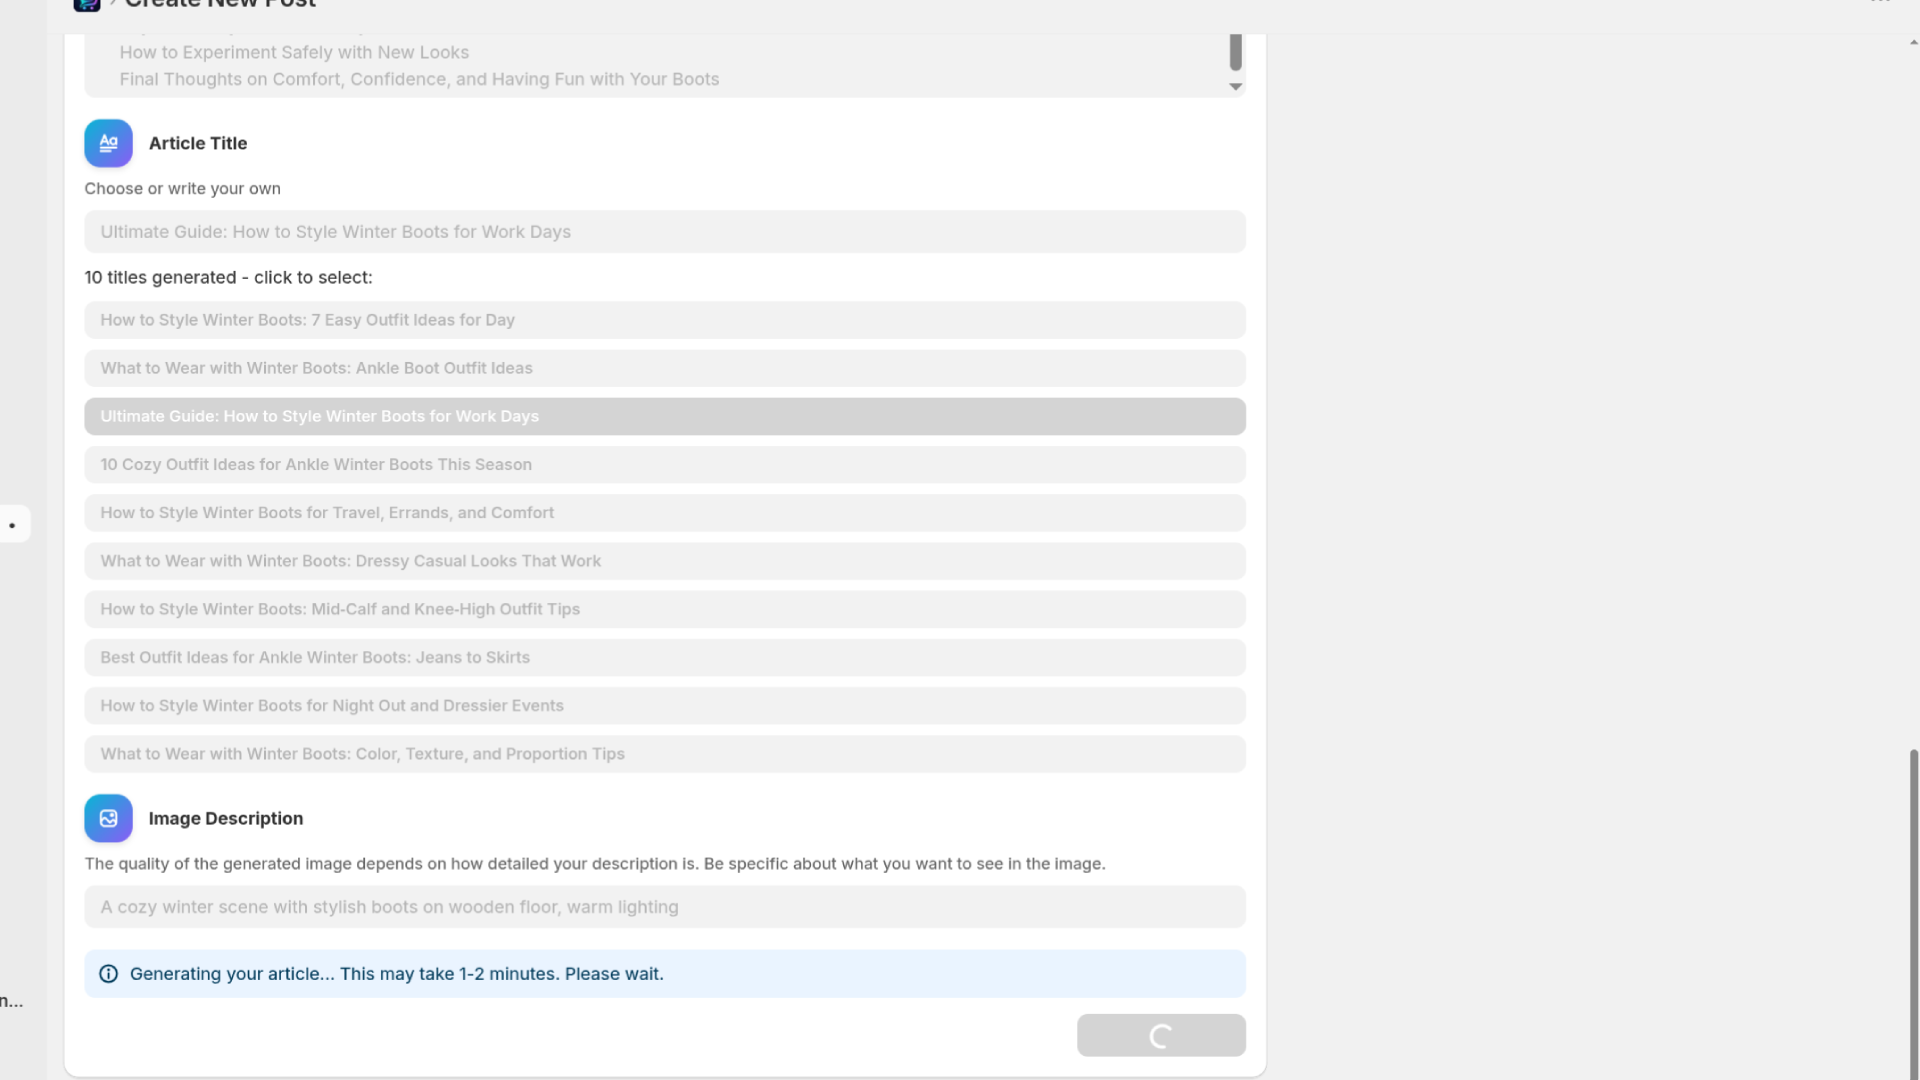
Note: Article generation typically takes 60-120 seconds. Don't close the page during this process.
Step 10: View Your Generated Article
Once complete, you'll see a success message with options to view your article.
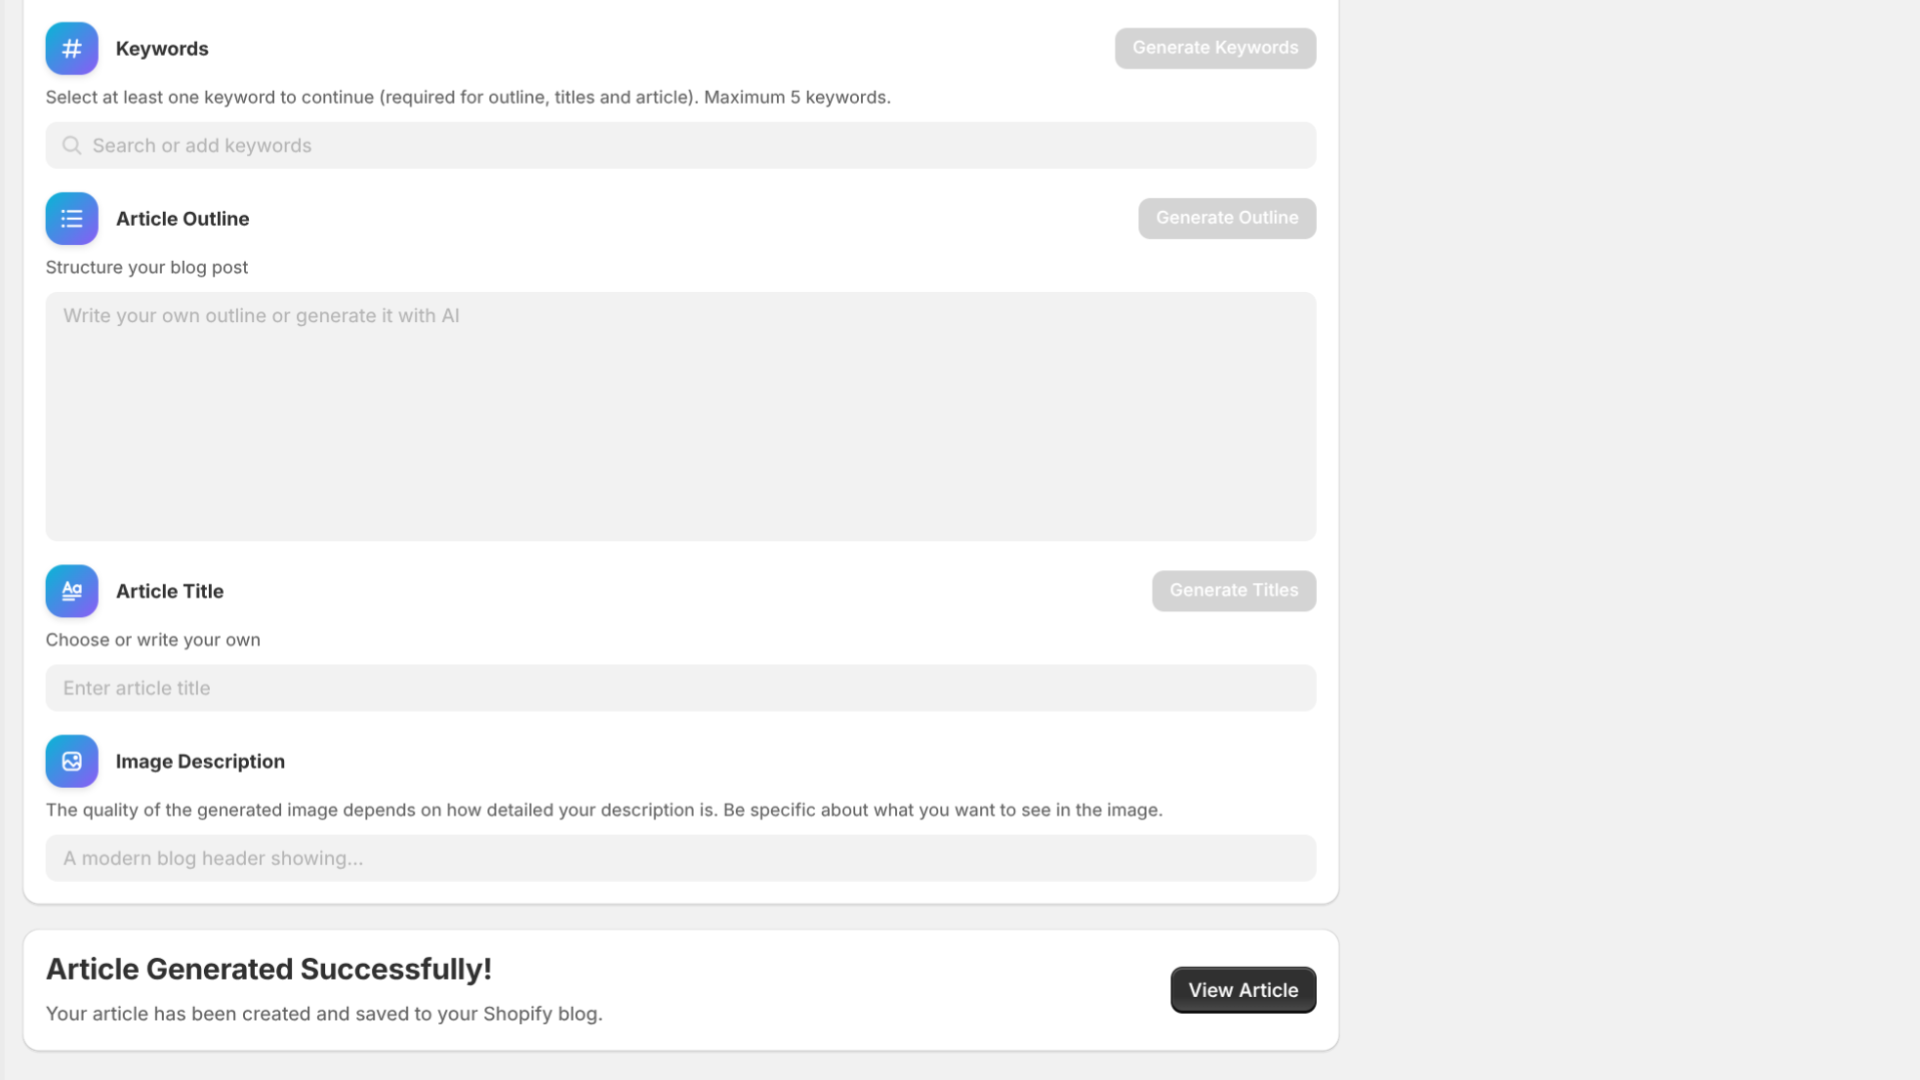
Click "View Article" to see your new blog post and make any final edits.
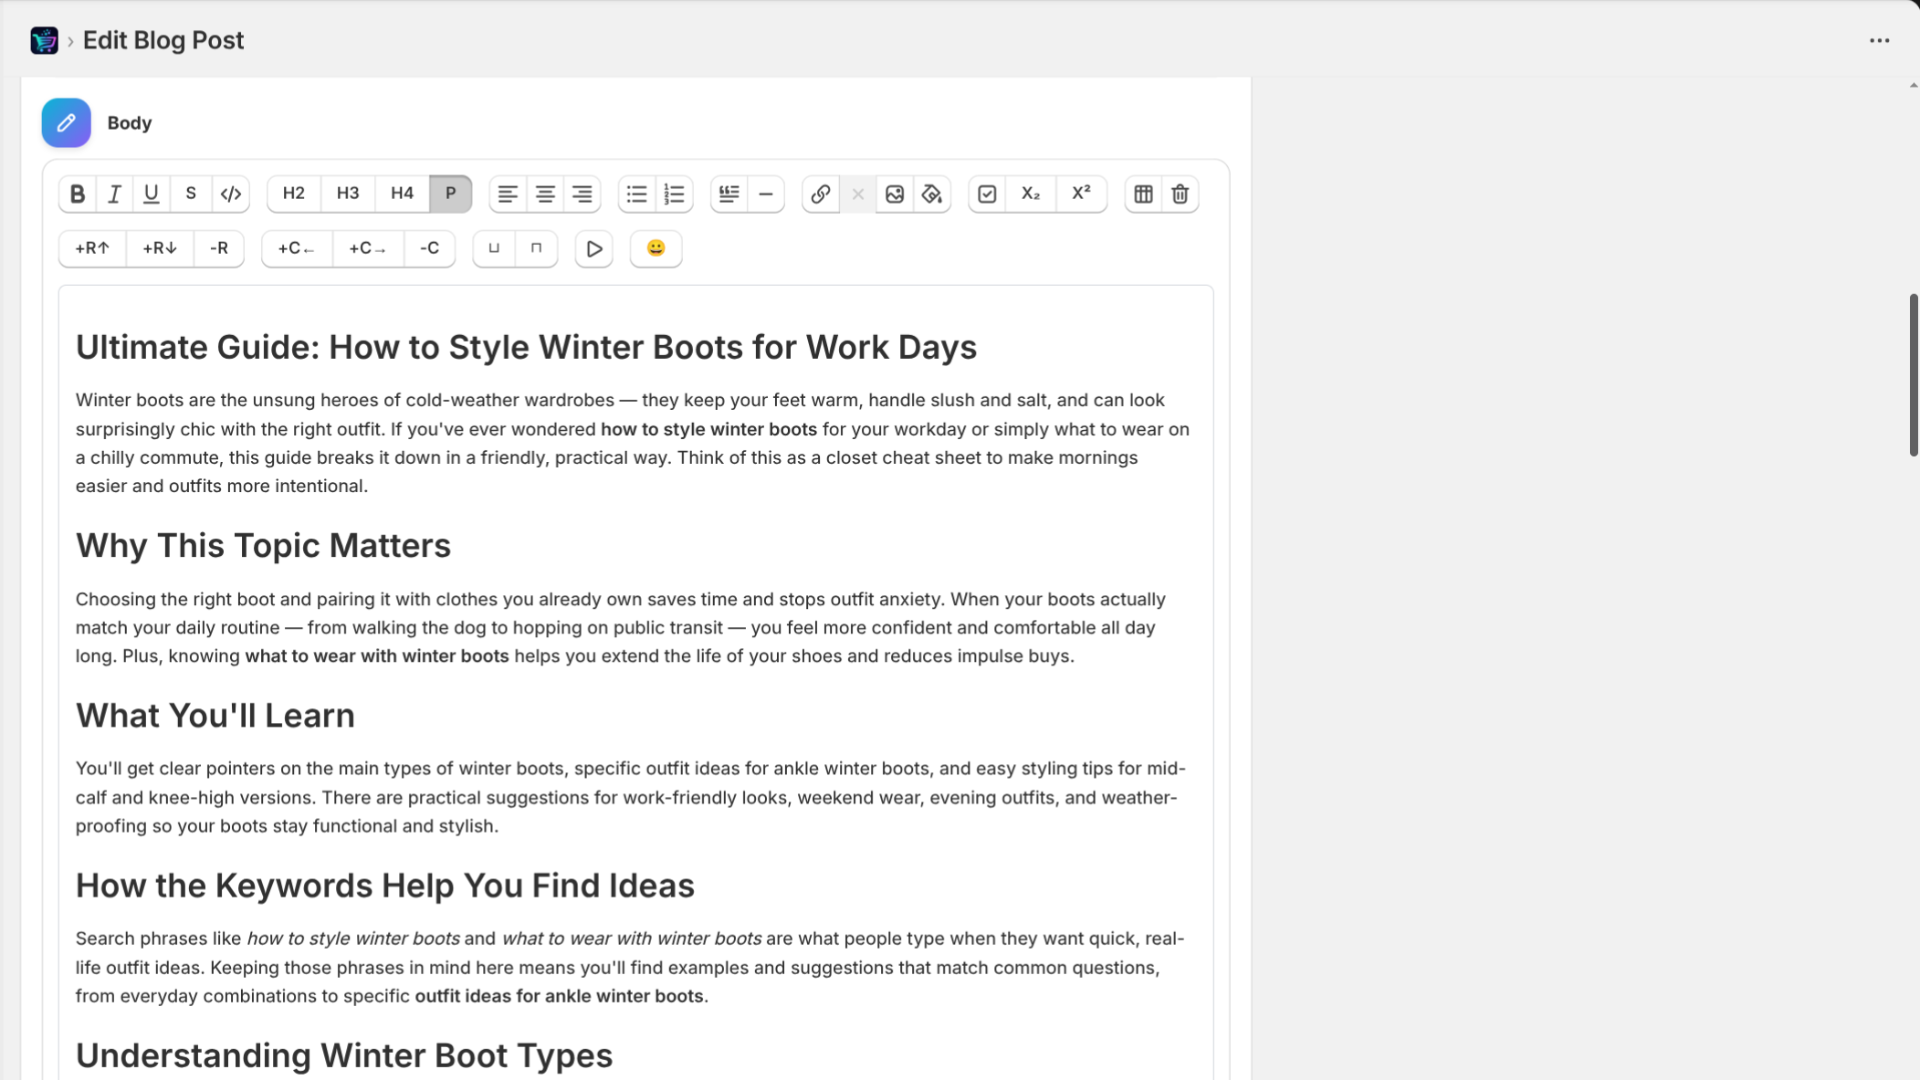
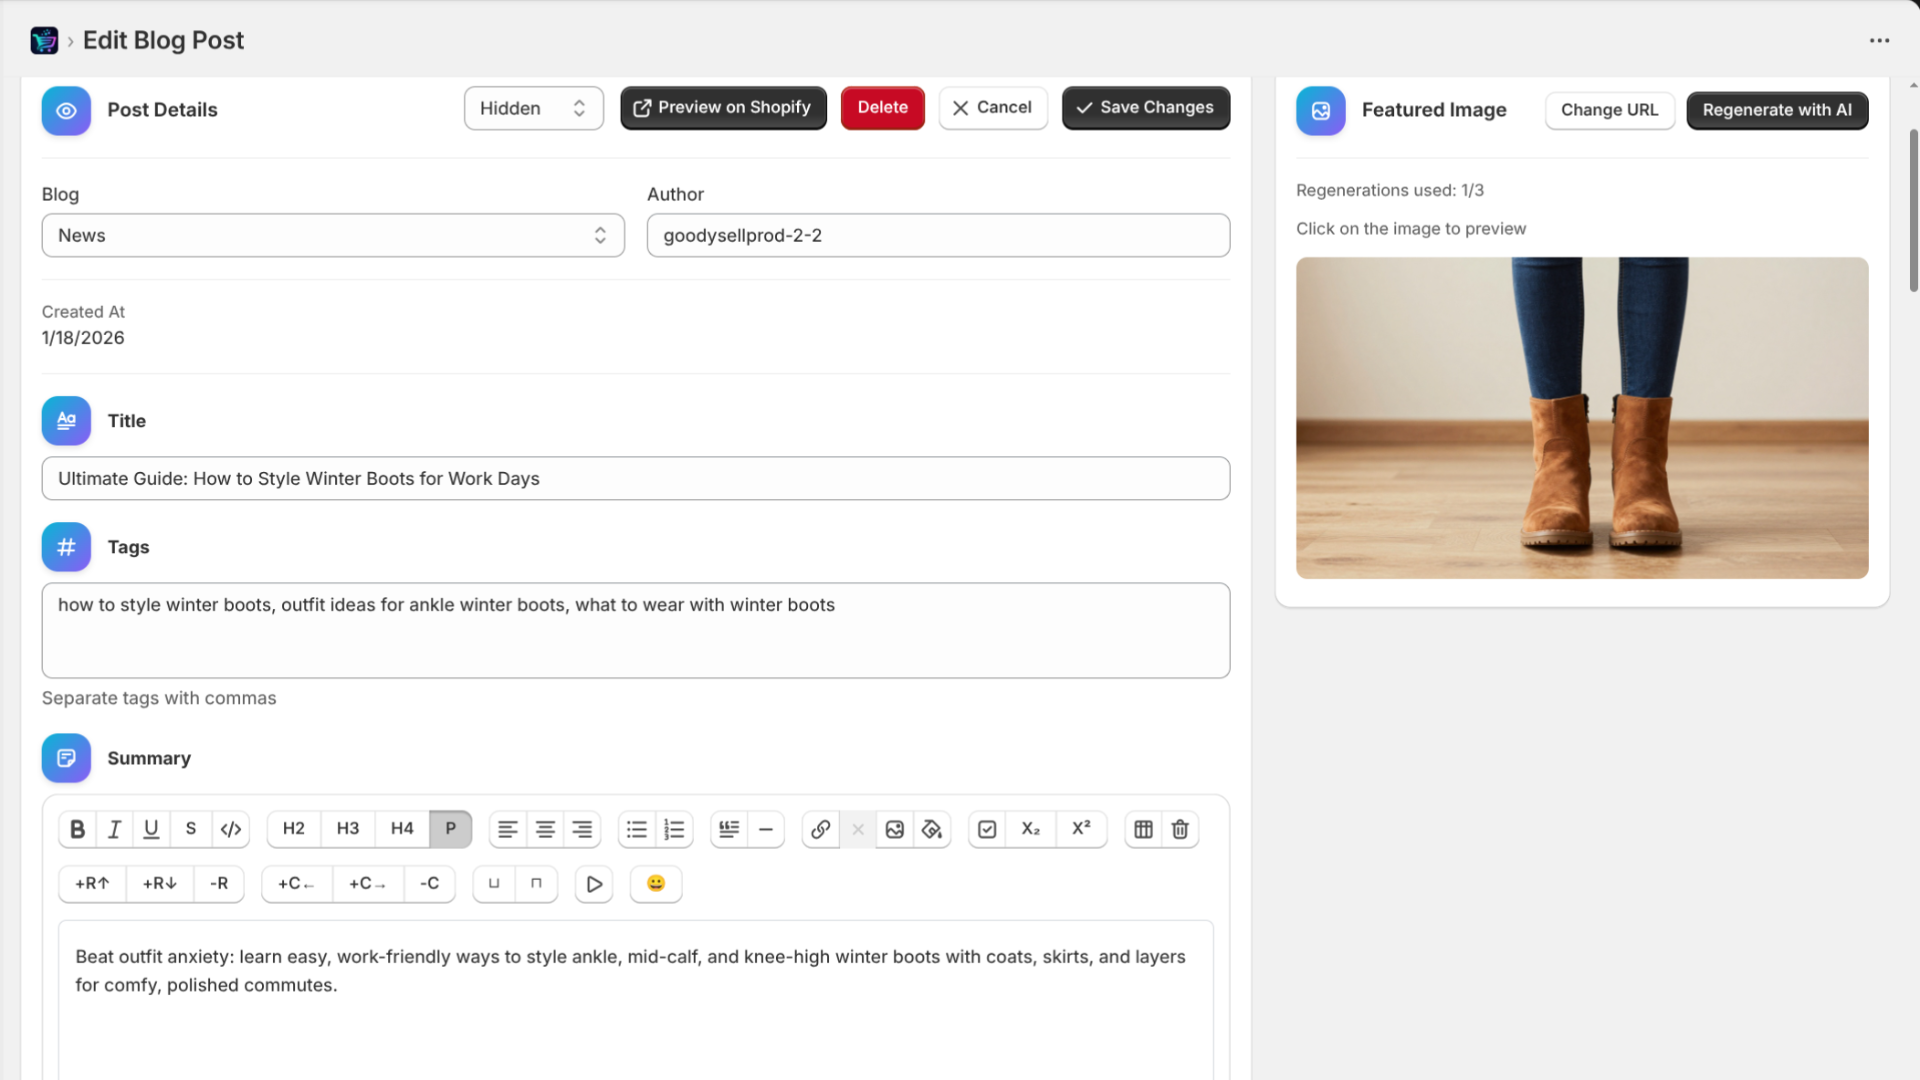
Editing Your Article
The edit page gives you full control over your article:

What You Can Edit:
Title - Change the headline
Content - Full WYSIWYG editor with:
Text formatting
Headings
Lists
Links and images
Tables
Blockquotes and code blocks
YouTube embeds
And more...
Summary - Add a meta description for SEO
Tags - Edit keywords/tags
Author - Change the author name
Blog - Move to a different blog (if you have multiple)
Status - Toggle between:
Hidden (Draft) - Not visible to customers
Visible (Published) - Live on your store
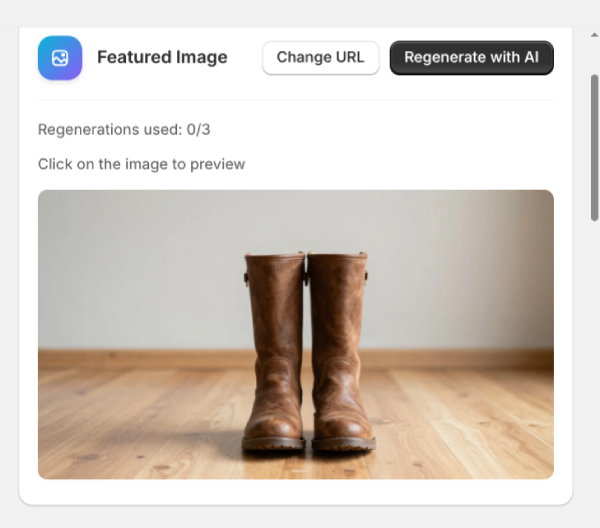
Regenerating Your Featured Image
Not happy with the generated image? You can regenerate it!
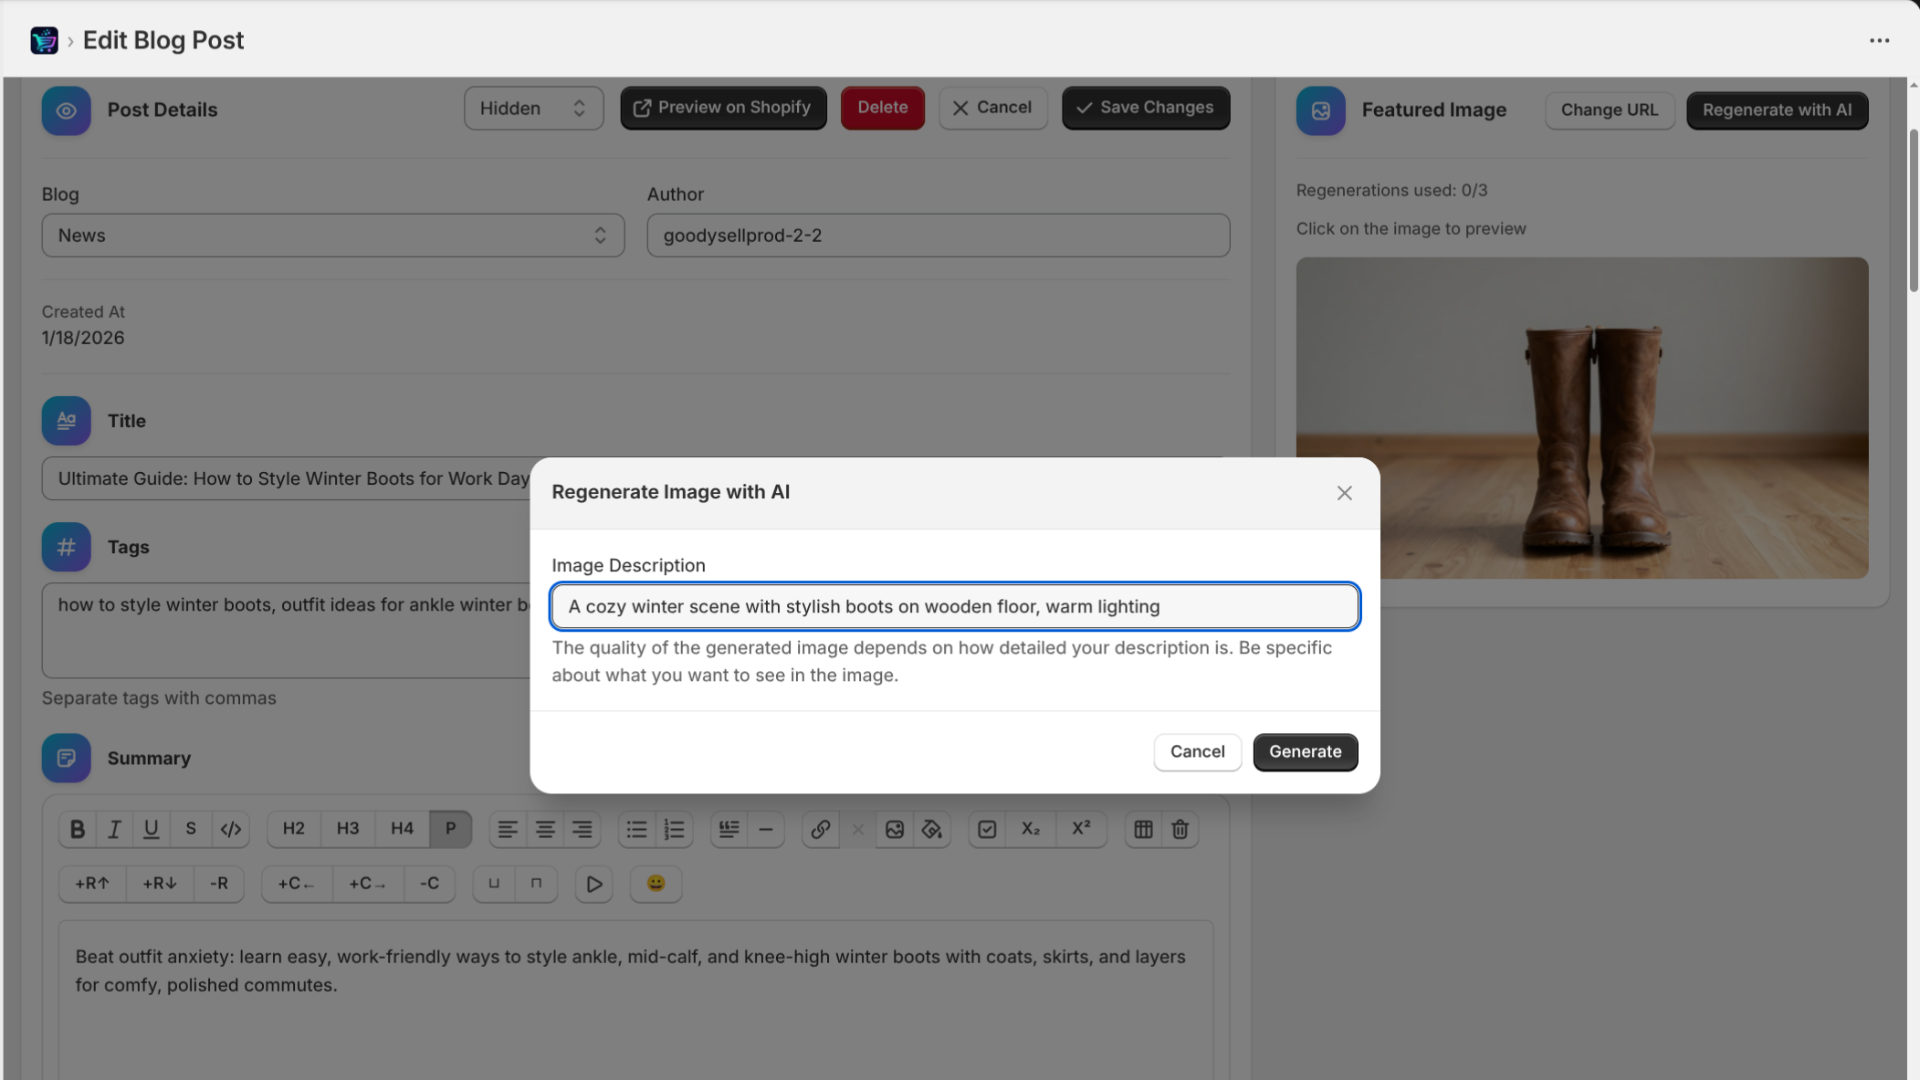
Click "Regenerate with AI" button
Enter a new description for the image in the modal
Click "Generate"
Regeneration Limits:
Free & Starter plans: 3 regenerations per article
Essential & Professional plans: 5 regenerations per article
The current count is shown below the image (e.g., "Regenerations used: 1/3").
Managing Your Blog Posts
Viewing All Posts
Click "Blog Posts" in the navigation to see all your articles.
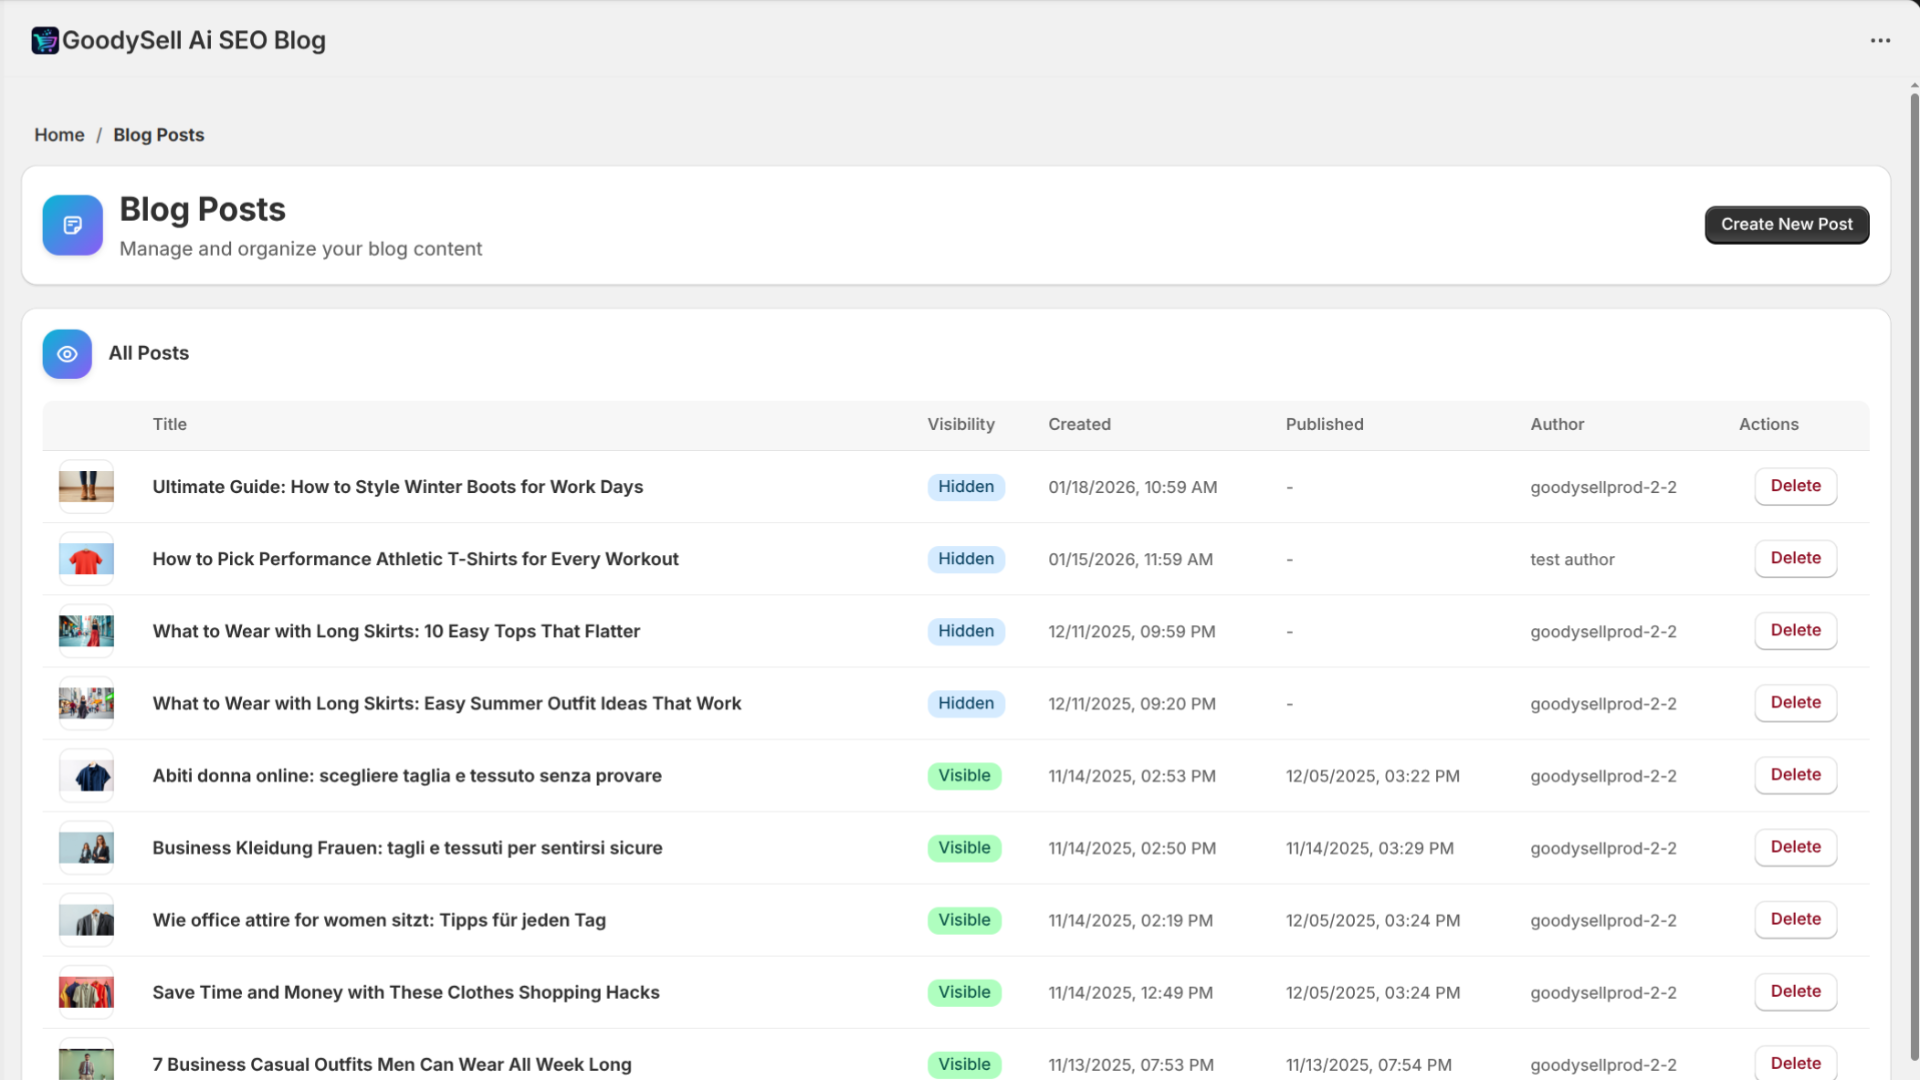
The table shows:
Thumbnail image
Title (clickable to edit)
Status (Visible/Hidden)
Created date
Published date
Author
Delete button
Deleting an Article
Click the trash icon, then confirm in the modal that appears.
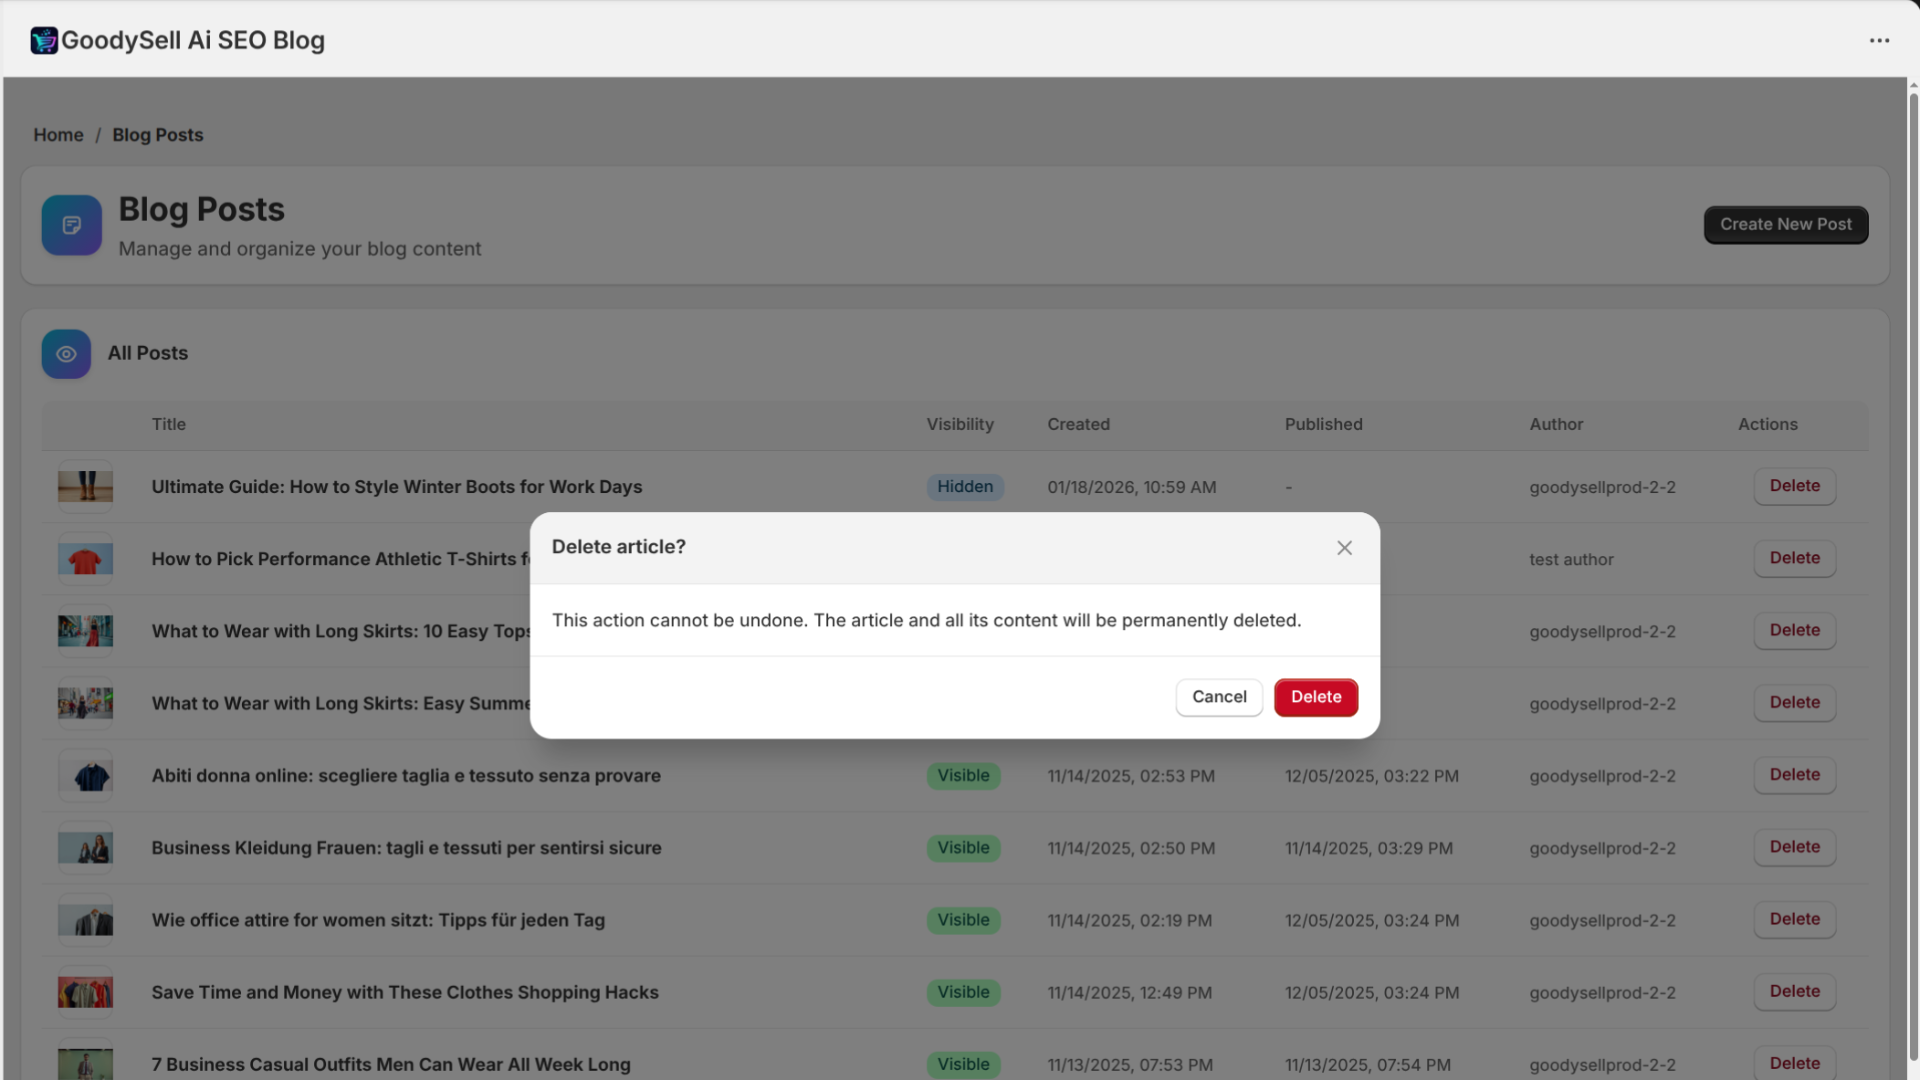
Warning: Deleted articles cannot be recovered. Make sure you want to permanently remove the post.
Checking Your Usage
On the home page, the "Current Plan" card shows your usage:
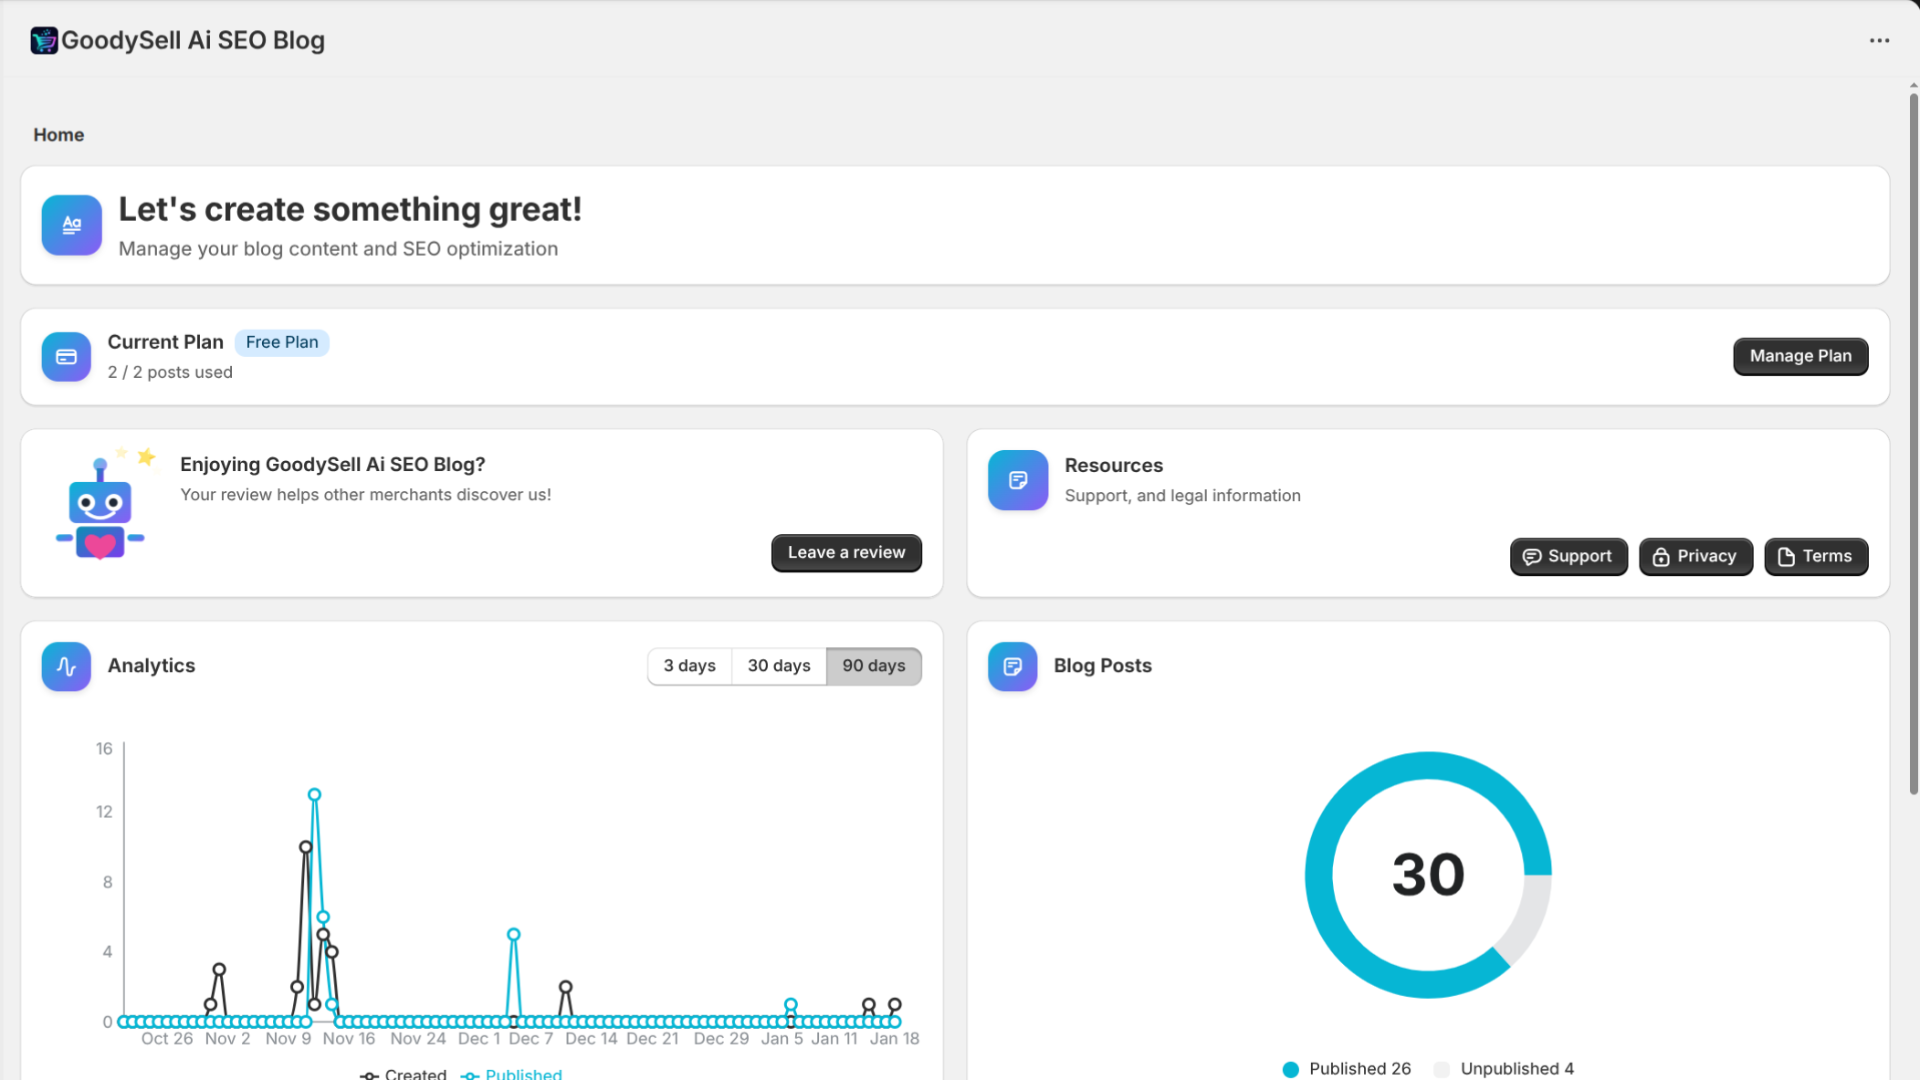
Your current plan name (shown as a badge)
Articles used this month (e.g., "5/30 posts used")
"Manage Plan" button to upgrade/downgrade
Usage resets on the first day of each billing cycle.
Tips for Best Results
1. Be Specific with Topics
Instead of "summer fashion," try "10 summer fashion trends for women over 40 in 2026"
2. Choose Relevant Keywords
Focus on keywords your target customers are actually searching for
3. Review and Edit the Outline
The outline shapes your entire article — customize it to match your vision
4. Write Detailed Image Descriptions
Include colors, mood, style, and specific elements you want in your featured image
5. Match Tone to Your Brand
A luxury jewelry store should use "Professional" or "Formal" tone, while a streetwear brand might prefer "Casual" or "Conversational"
6. Always Review Before Publishing
AI-generated content is great, but a quick human review ensures everything is perfect for your audience
Troubleshooting
"Generation failed" error
Check your internet connection
Make sure you haven't exceeded your plan's limit
Try again in a few minutes
Image doesn't match description
Be more specific in your description
Use the regenerate feature with a better prompt
Include style keywords like "minimalist," "vibrant," "professional"
Article too short/long
Adjust the "Article Length" setting before generating
Edit the outline to add/remove sections
Need Help?
Visit our Help Center or contact support for assistance.
Conclusion
GoodySell AI SEO Blog transforms the way you create content for your Shopify store. What used to take hours now takes minutes — without sacrificing quality or SEO optimization.
Ready to start creating? Install the app from the Shopify App Store and generate your first AI-powered blog post today!
Have Questions?
Find answers to common questions and learn how to get the most out of our apps.